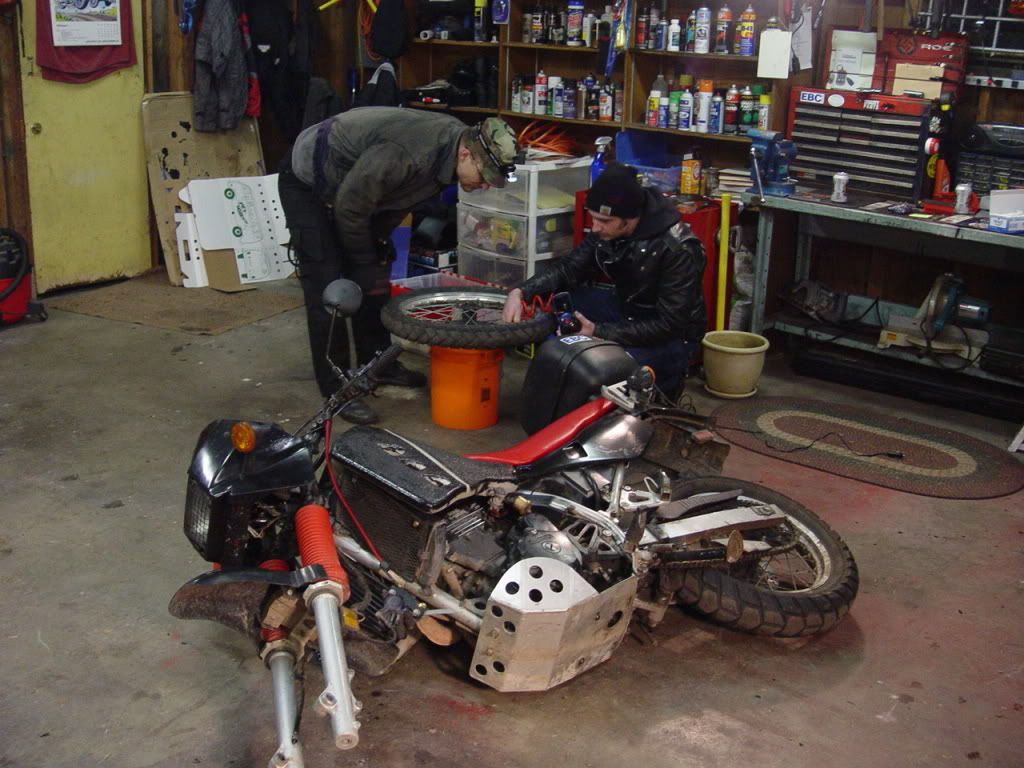
 >So you wanna change yer tire.
Since you own a KLR, you probably wanna do it yourself. Not that you can't afford to have it done, oh no! It's not that KLR owners are cheap bastards, of course not. You just want the experience of doing it yourself so you can later do it "in the dirt" if need be. This strong inclination to seek out the hardest way to do something & thereby enjoy all the attendant misery is an essential part of KLR-ing, I have found. Changing your tire should satisfy this need, at least for a while.
I'm not going to re-print directions for tire-changing. You can Google a half-dozen, like I did. Here are the two instructions I printed out & used:
Best tire-changing site
Best tire-changing-in-the-dirt site
We also watched Jay's Tire Changing & KLR Valve-Adjustment Video first:
Jay's Famous KLR DVD at Technical Video Rentals
This site has lots of cool videos 4 rent cheap.
The most notable thing about the three methods is that they all disagreed on various things. I forget about what--but recall feeling vaguely disgusted. Oh well, on to the madness!
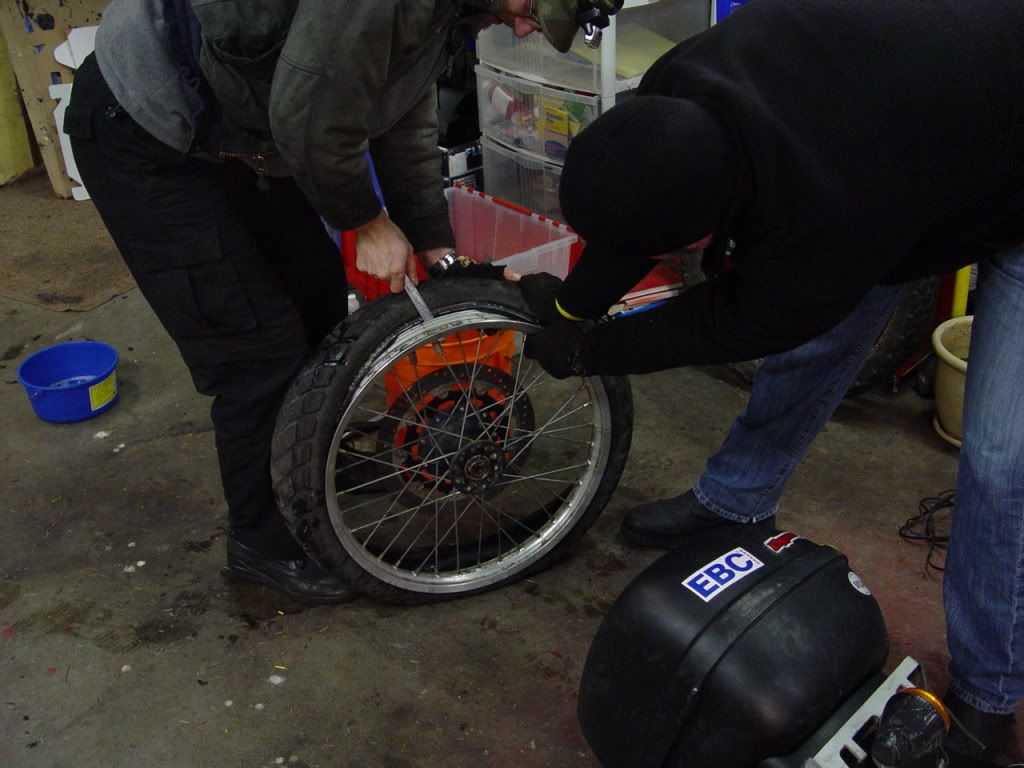
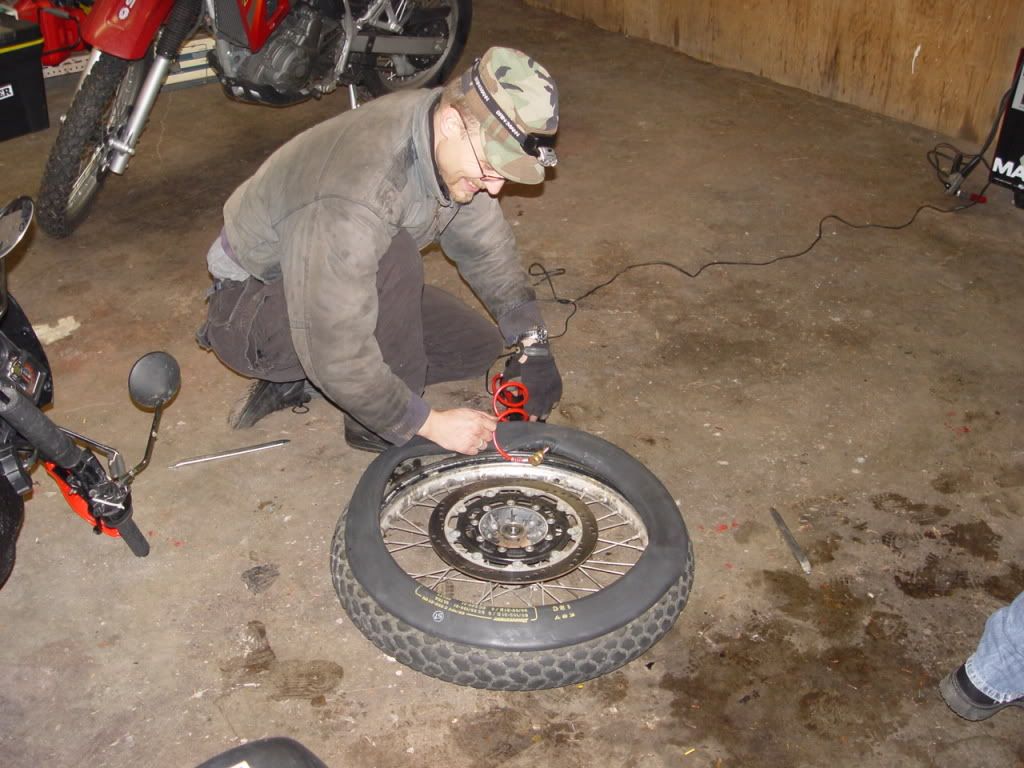
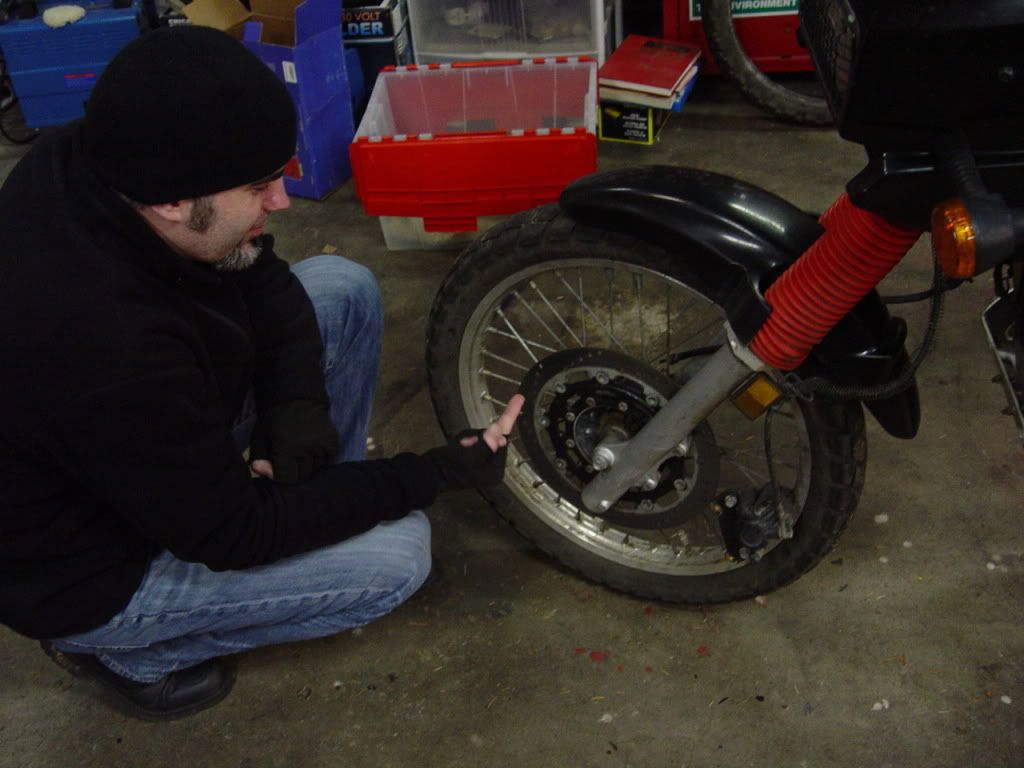 F'in tire!
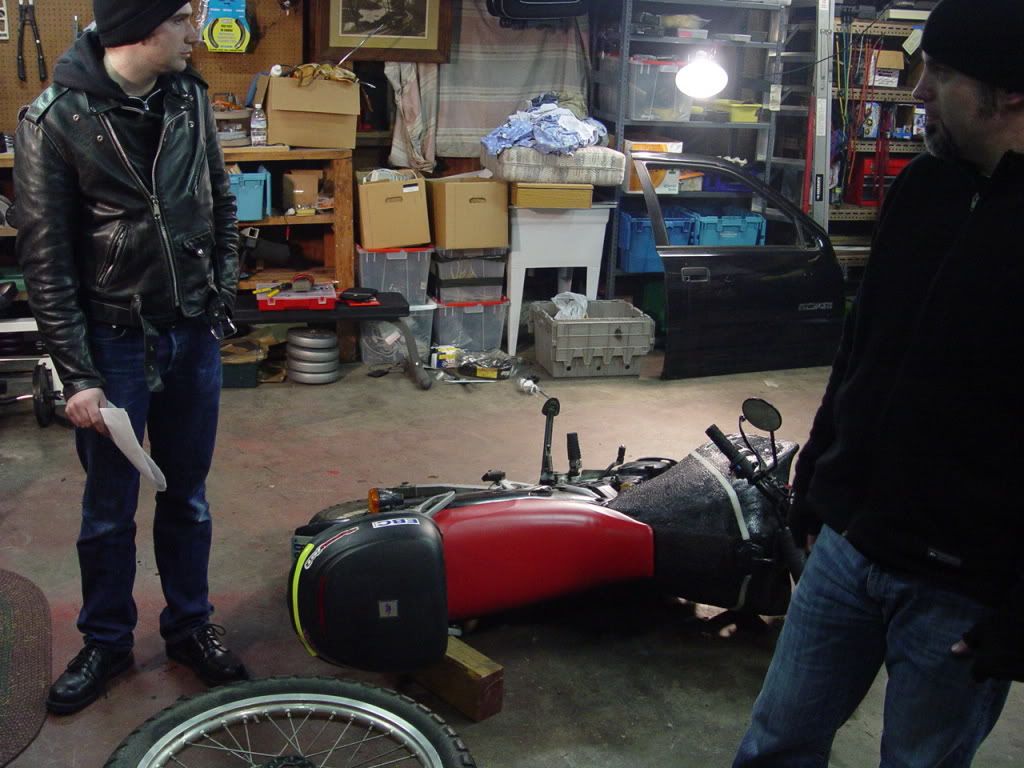 So, uh, what now?
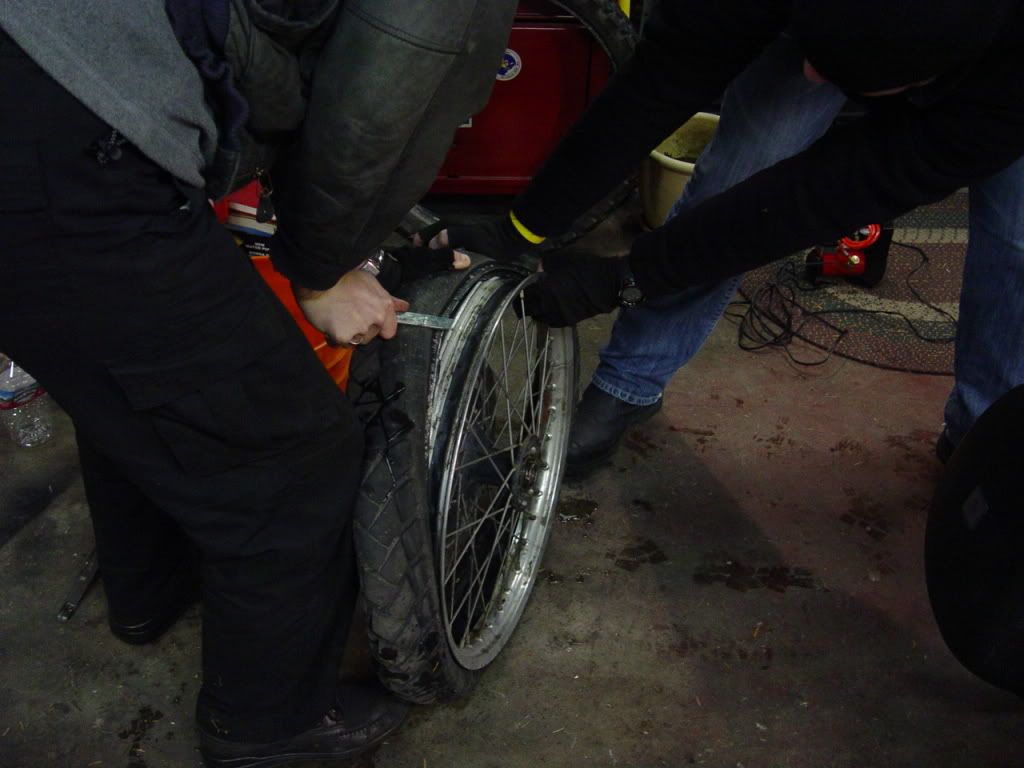
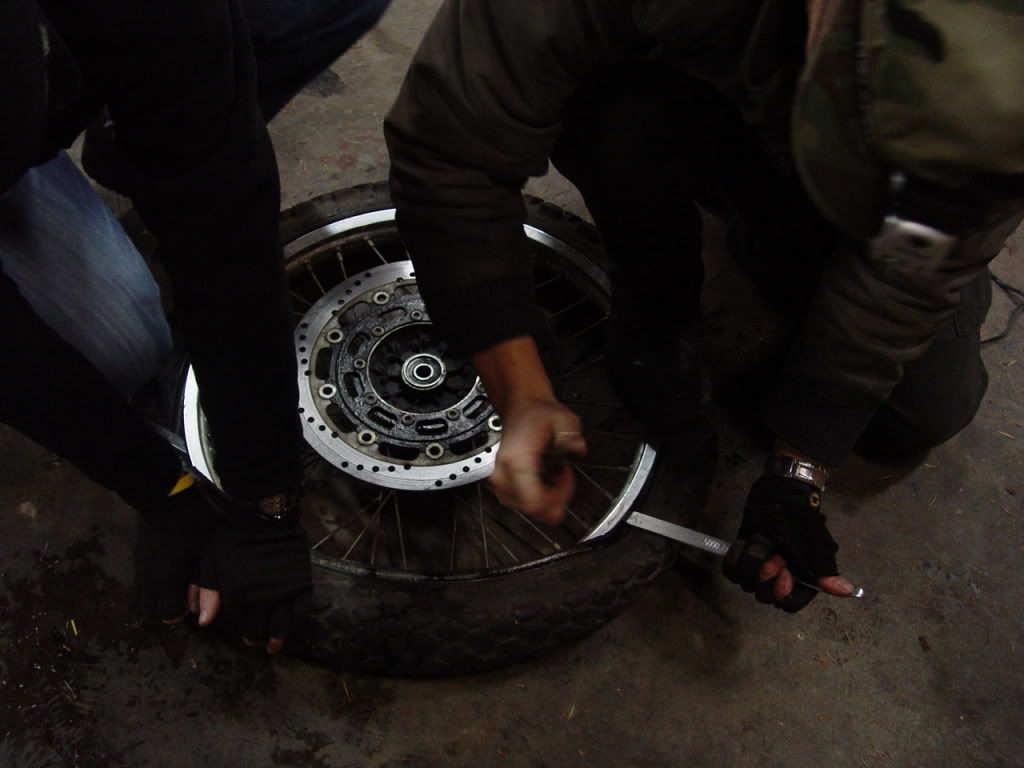
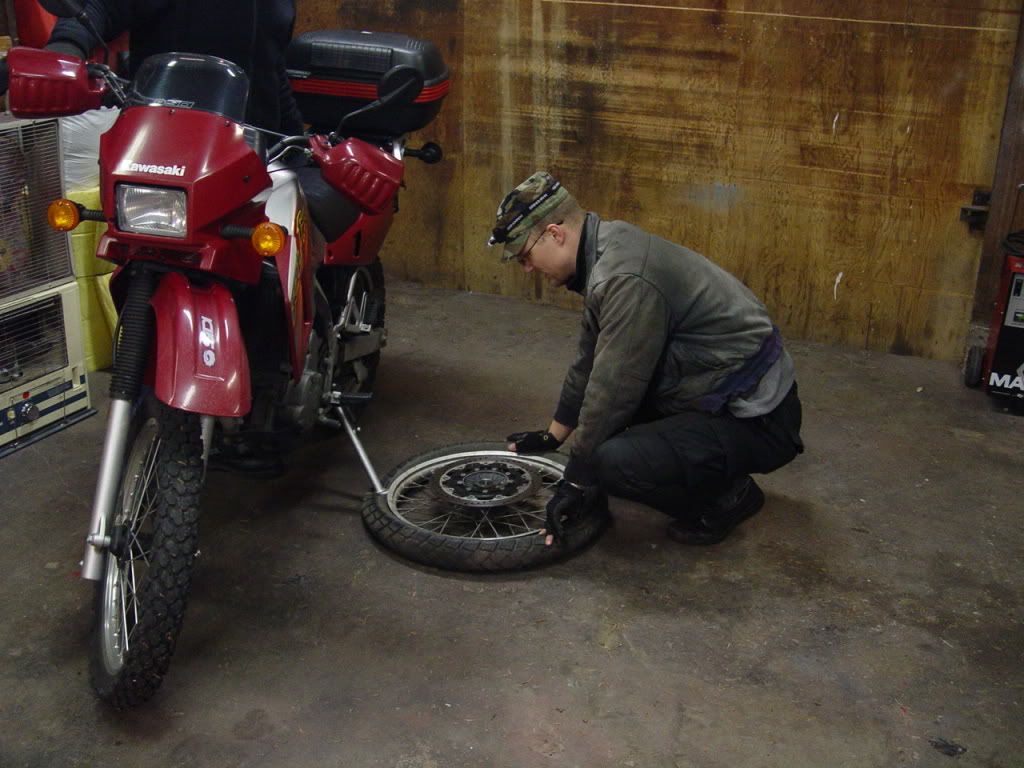 Ghetto bead-breaker works like a charm.
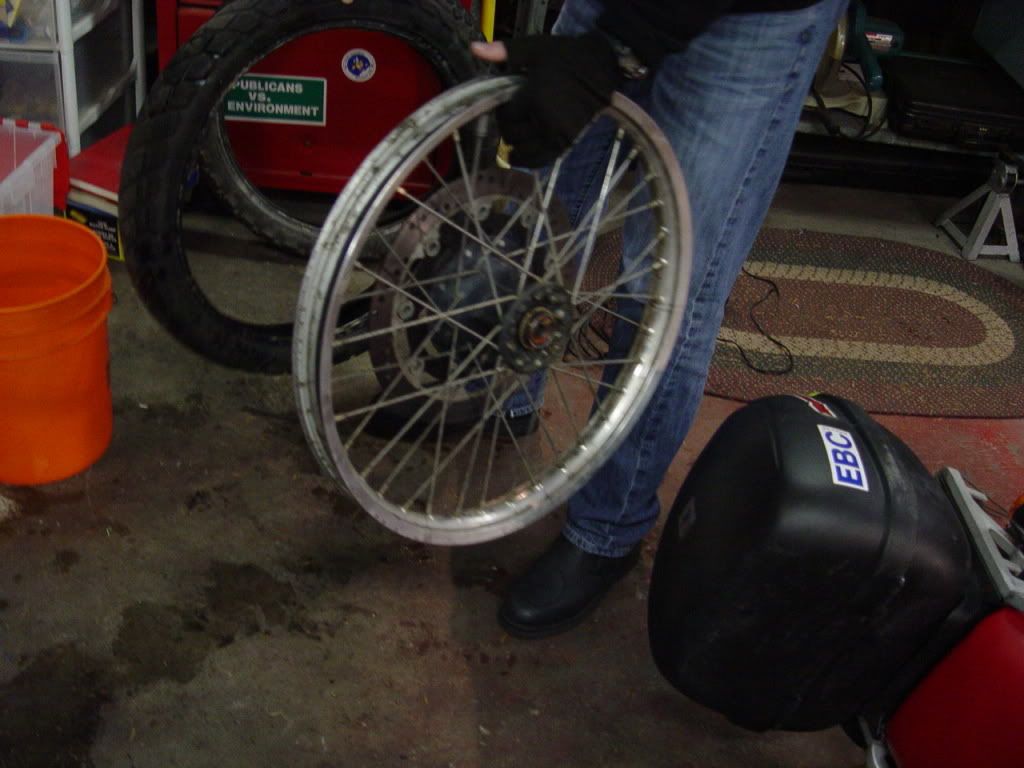
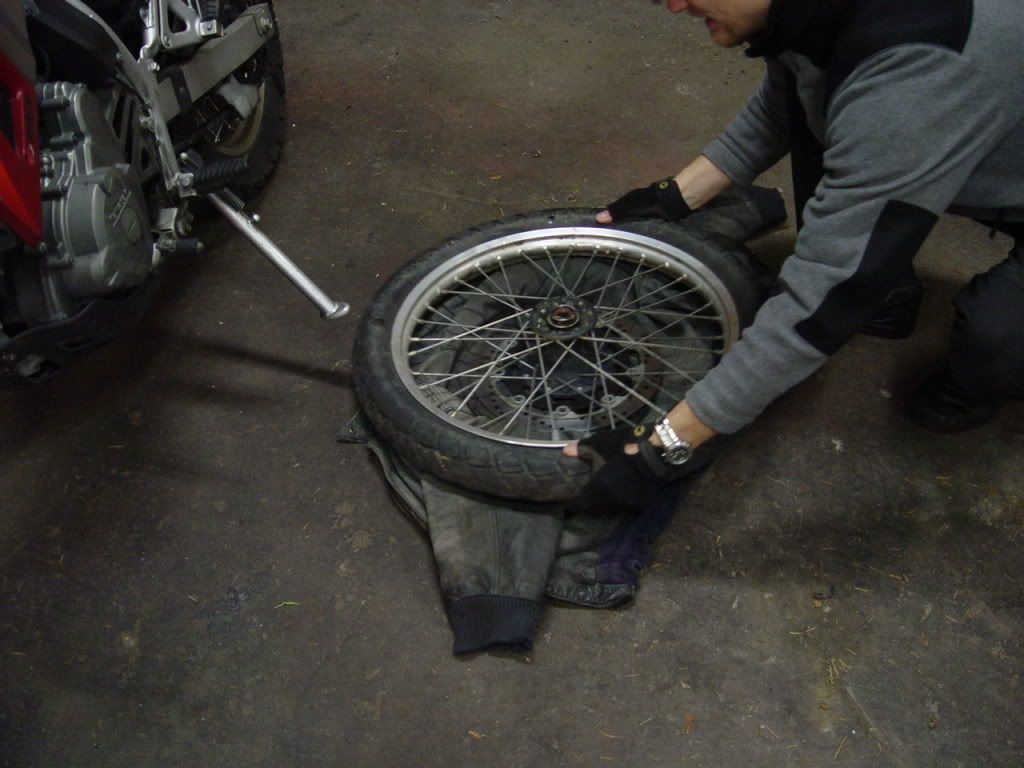 Uh oh, how do you protect the rotor from scratches while "in the dirt"?
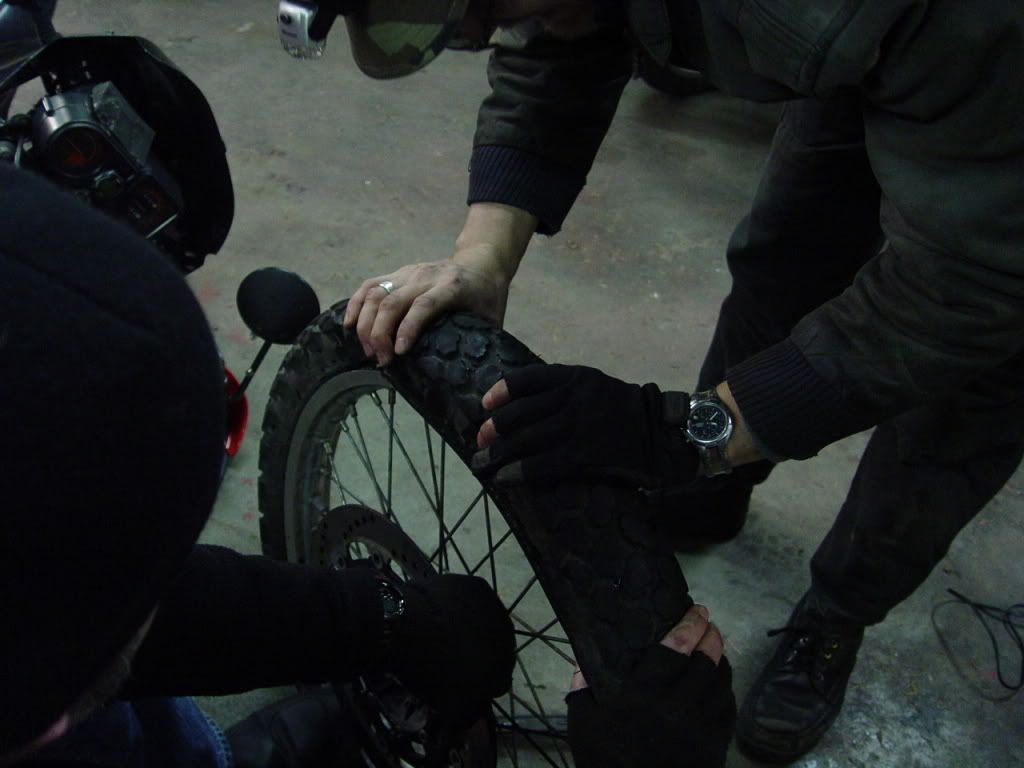
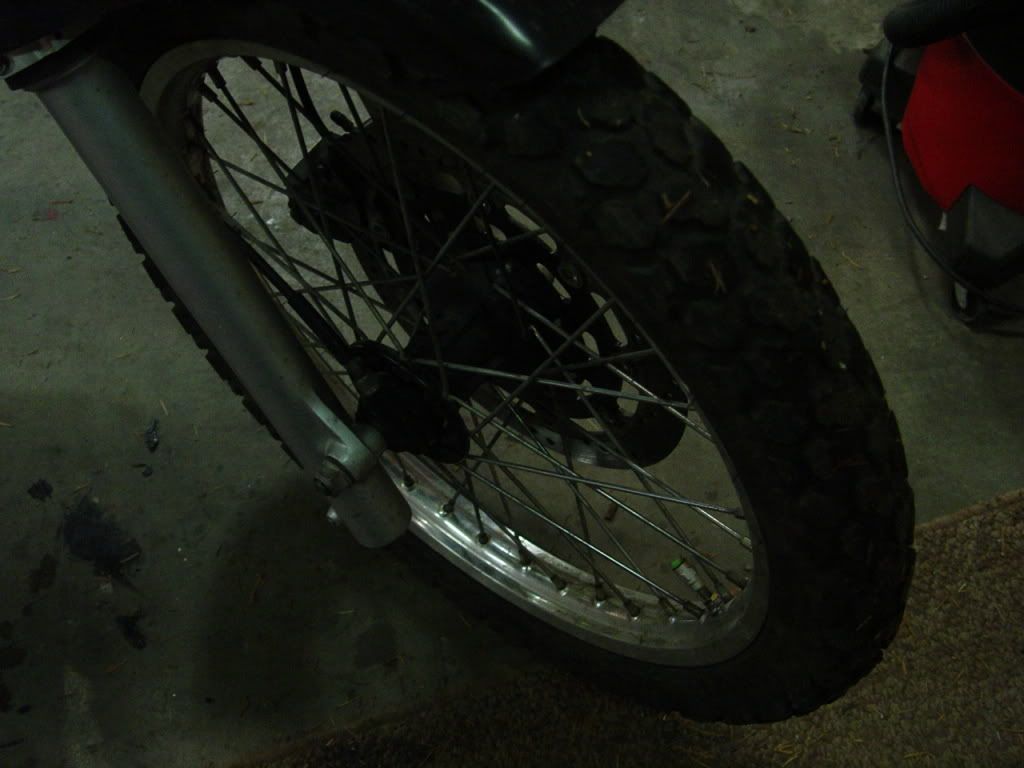 The "New" tire is already 60% roached, I just wanted to check the process. I left the wheel weights on where they were & haven't had any problems yet.
Good list of stuff 2 bring:
http://www.klr650.net/forums/showthread.php?t=22545
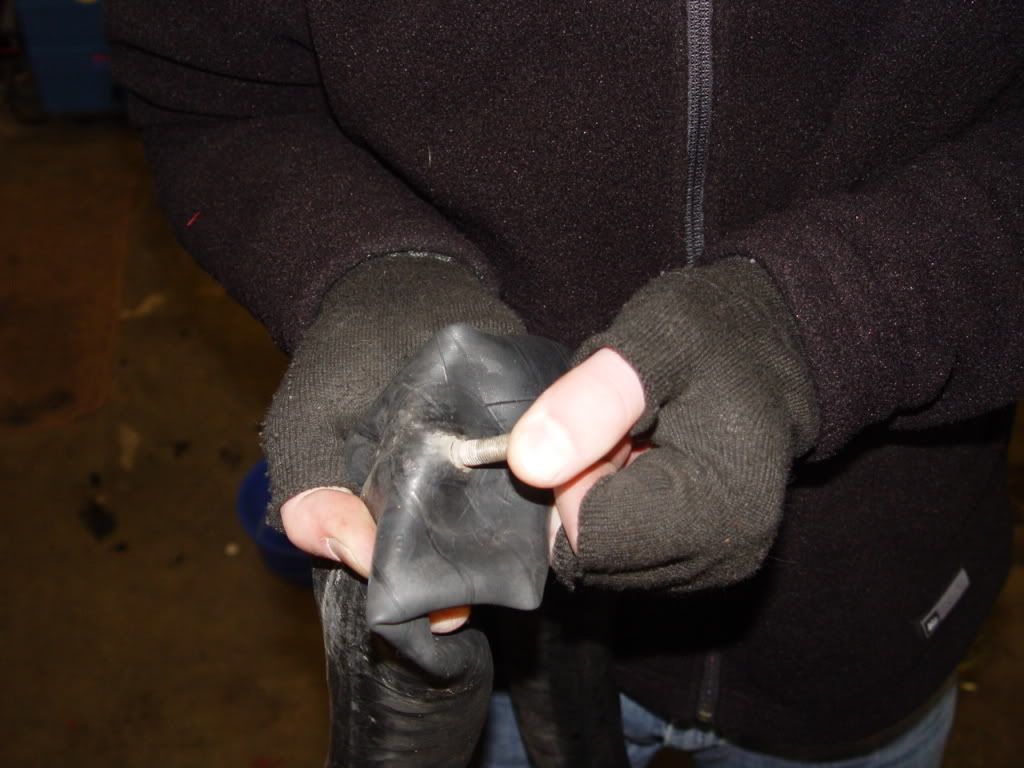
I'm sure these pictures make the process perfectly clear! Seriously, if you have questions, feel free to email.
